
5 Steps to Follow When you want to learn to do a Handstand
Doing a handstand is one of the toughest exercises you can do at home. However, this position is not at all easy to do. If you’re a beginner, you need to practice a lot before you manage to do it properly. It’s a tough exercise, so you must be fully prepared.
To do it right, you must go through the five stages that will make it right. Every single one of them is highly important. If you don’t go through them, you won’t achieve success. It may take some time, but if you follow the steps, you’ll do it fast enough.
In this article, we’re going to tell you what these five steps are. Follow them and you will learn how to do it in no time. It’s crucial to go through them in the exact order. Don’t jump the steps as you won’t learn everything right, and you’ll struggle.
1. Always do the warm-up routine
The warm-up is crucial. Just like athletes do before they start their performance. Without it, their muscles and joints will be sore and they won’t be able to give 100{019b826680c237a0f40f2c81e8609cbc0f2f8e1c44b17fc27c678562afb683e3} of their abilities. The warming process makes the body provide the full potential.
It’s the same with doing the handstand. Without proper warm-up, you won’t be able to things the best way possible. This procedure provides the joints and the muscles become flexible. Without it, they will be stiff. When they are stiff, they might suffer injuries.
This is why the warm-up routine is so valuable. It will help you in the process on how to learn to do a handstand much easier. If you don’t do it, you might even suffer an injury. That’s why you must do it before an actual attempt.
2. Don’t forget the yoga mat
The foundation of doing a handstand is to put your hands on the ground and lift your feet in the air. That means you need to put the entire body weight on your hands and joints. What it means is that you need to have the full support while doing it.
To soften the pressure on the joints, it is best to get yourself a thick and comfortable yoga mat. Aside from being super comfy when you fall on the ground, it will help you achieve a grip that will be firm but the joints won’t suffer too much.
If you do it on the ground, you will get exhausted much faster. Your joints will need to take the entire pressure without having the chance to transfer the bodyweight onto something else. Having a yoga mat makes the entire process much easier as the material under you is perfect.
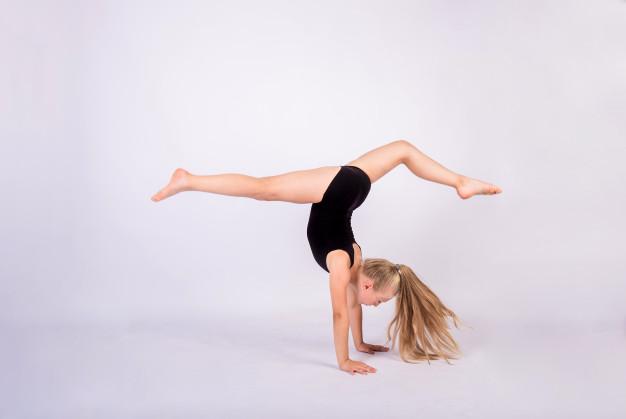
3. Start low
With everything mentioned above, you should go on to the next step. Don’t go on to try it just yet, but do some small steps instead. First, clean up the area of everything that might fall on. This is important because you’re risking an injury and destroying something around the home.
Then, get on all four and start your attempt from there. There are more ways to do it, but they all start with pushing off with your legs. You can go either backward or forward with your legs. It’s all up to you and there’s no rule what’s better. It’s all about your personal preference.
It’s crucial to start slow and with a low posture, because trying to achieve perfection right away might make you fall and injure yourself. Instead, you can use an ottoman or something that will act as a helper on the way to the top. Don’t risk and take things one step to the next.
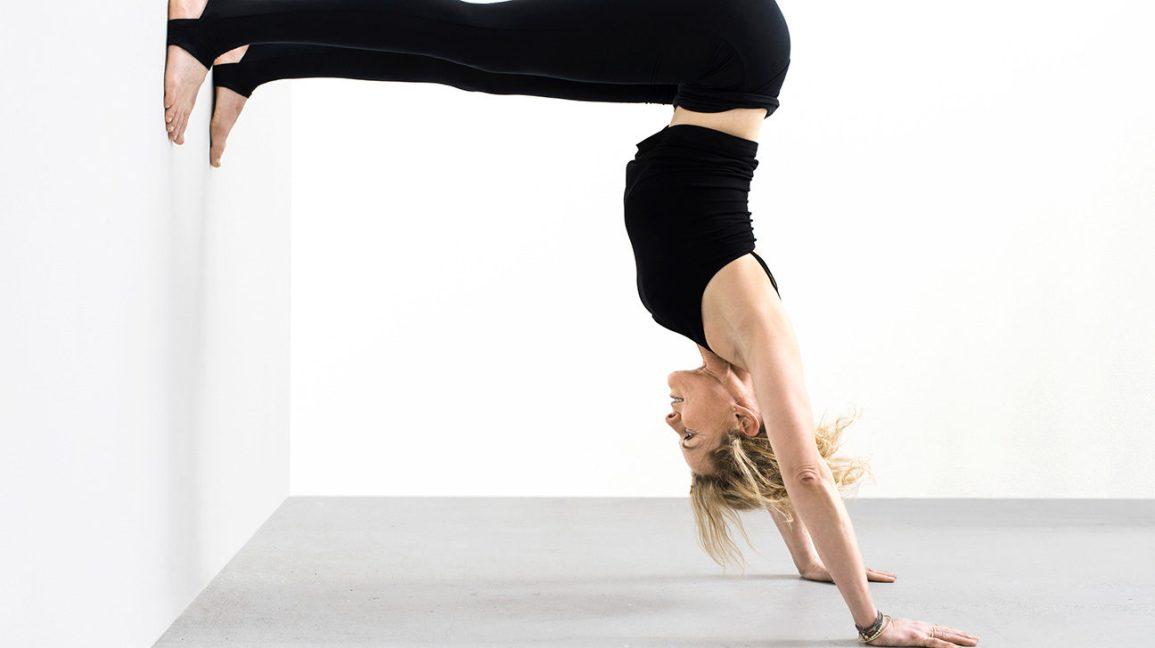
4. Use the wall to help you with the posture
When you’re ready, you should be lifting your legs up. It’s best if you use a wall that will help you at the beginning. Understand that it’s not easy achieving the posture right away. You need to practice before you do it. But, how to do that when the goal is standing in your hands?
That’s where the wall helps. You’ll lean your legs on the wall. The wall will be the second step in your handstand achievement. If you manage to stand on your hands and lean your legs high on the wall, you’ve achieved half of the path to making a perfect handstand.
Some might think that there’s no need for the wall step. However, if you’re a beginner, this is the only way to learn how to do it properly. Those who skip it, simply overturn on the other side and risk an injury. But those who stand on the wall will learn the right way and stay safe.
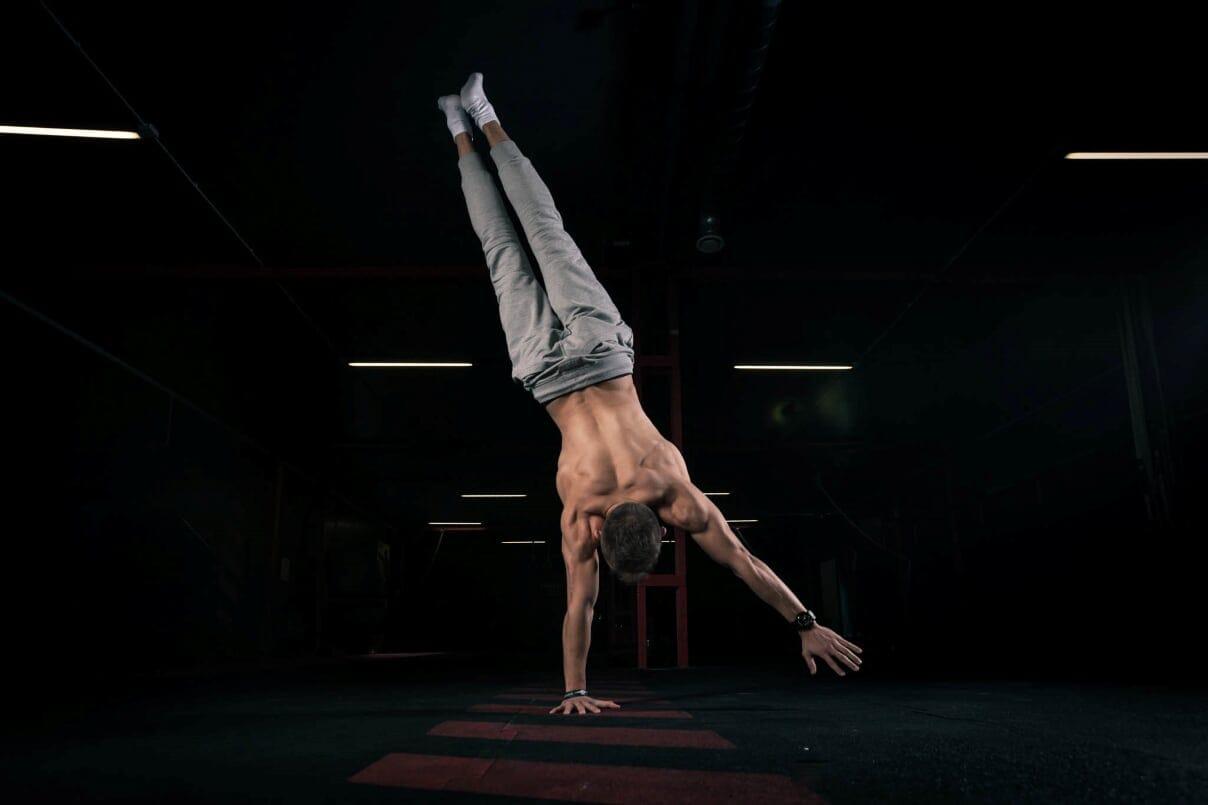
5. Make the final move and practice
When you have your legs on the wall, it’s time to make that final move. When you feel confident and ready, give a small push off the wall and see your body go away from it. You’ll probably fall the first time, and see your body struggle to achieve balance.
The balance is the hardest part. It’s like trying to ride a bicycle for the first. It’s nearly impossible to achieve balance right away. However, your mind will soon be adapting to the new task. After a few attempts, you’ll manage to stand on your hands and not fall over.
Instead, you’ll manage to do all kinds of postures that will help you do outstanding poses. Leave it to your imagination. Feel free to meditate and try to achieve harder postures with time. Let yourself go and strive for excellence. See some details about how much time it is needed for a beginner learning this on the link here.
Conclusion
These steps are mandatory for everyone that wants to learn how to do the handstand properly. It’s crucial to make them all one by one. Skipping one to go to another one faster will only slow down the process of achieving the handstand. Instead, give every step enough time, and make sure you do things properly.